Continuing to work with Acrylic for Gecko Condo
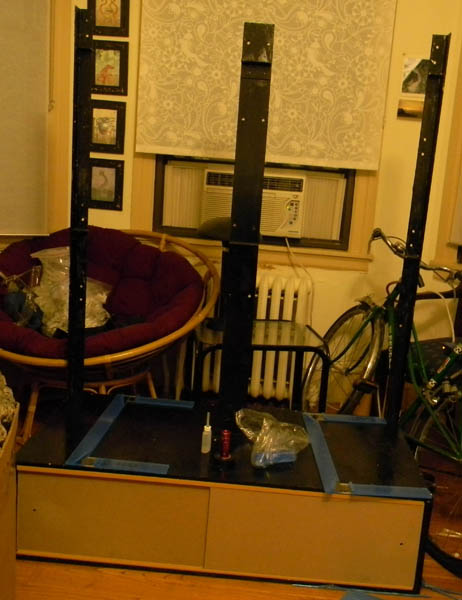
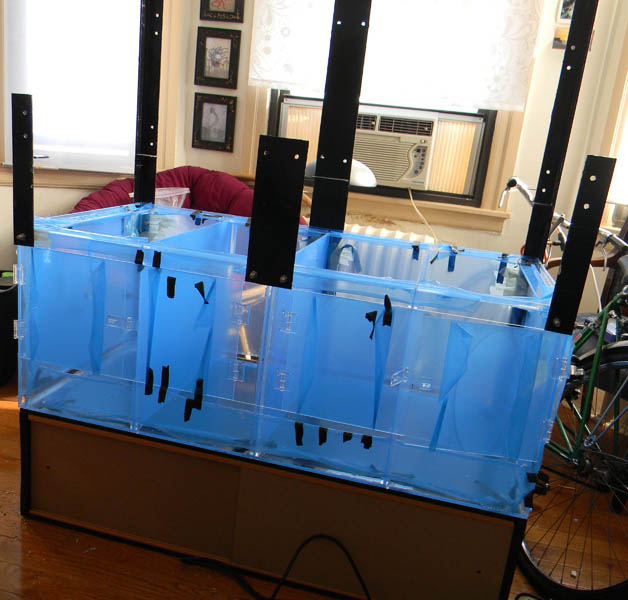
Back from a holiday visit to Wisconsin! With the basic frames of the tank together it was time to move on to the next step, adding in the plastic bits that will serve both as stabilizers for the main walls and as guides for the removable partitions and the tops of the tanks. The first thing I need to do is measure out the proper spacing for the partition guides and then tape them into place. I used a 1/4" thick piece of MDF to keep the spacing between the guides accurate and to make things easier on me. I then taped them into place and applied the weldon-4 to bond them to the main tank.
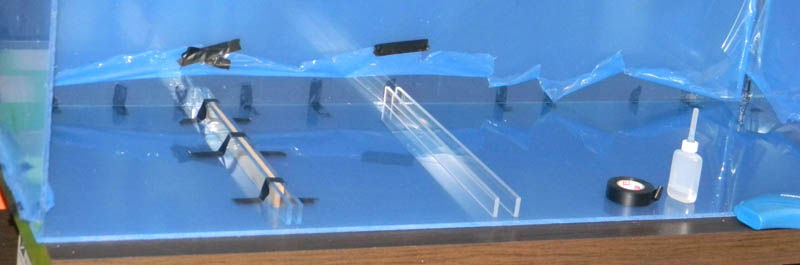
Once these were in place on the back and front wall of the tank I had to put in the supports for the top of the tank. I though this would be difficult to do accurately but it turned out to go in pretty easily. They fit well and could rest somewhat on at least two of the partition guides. Just took a little electrical tape and measuring to hold them at the right height while I welded them on.
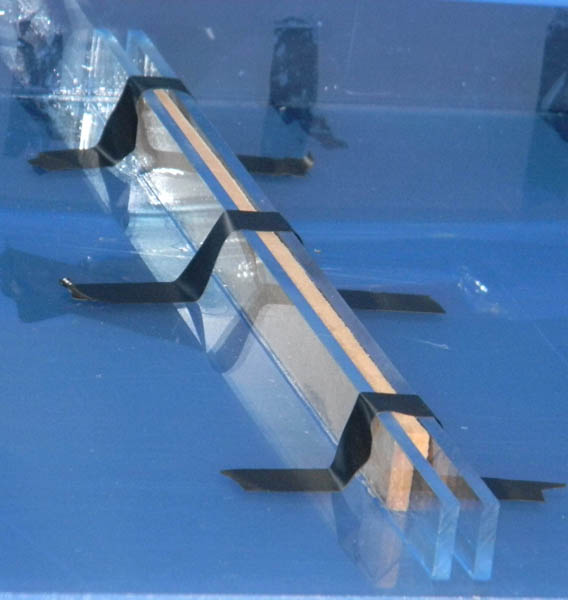
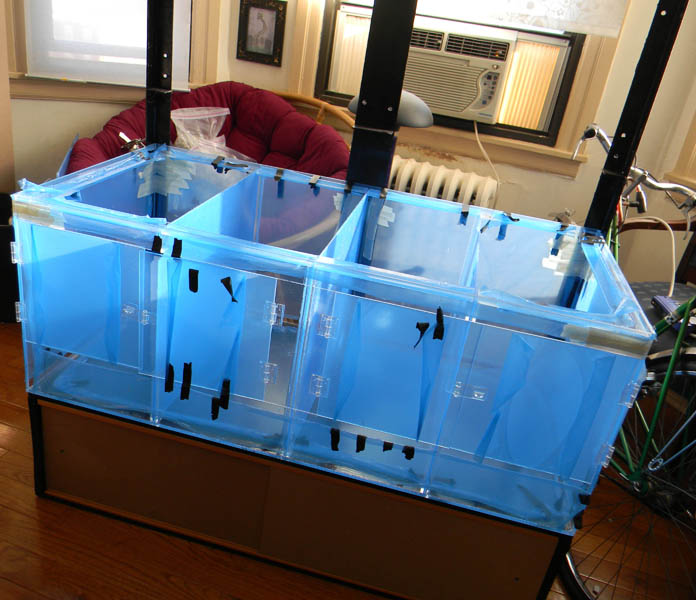
These pieces added a lot of stability to the tanks once the weld had set. Before you could wiggle one of the walls pretty easily with your hand, but now the entire tank was solid. Everything lined up properly as well, as you can see with this removable partition:
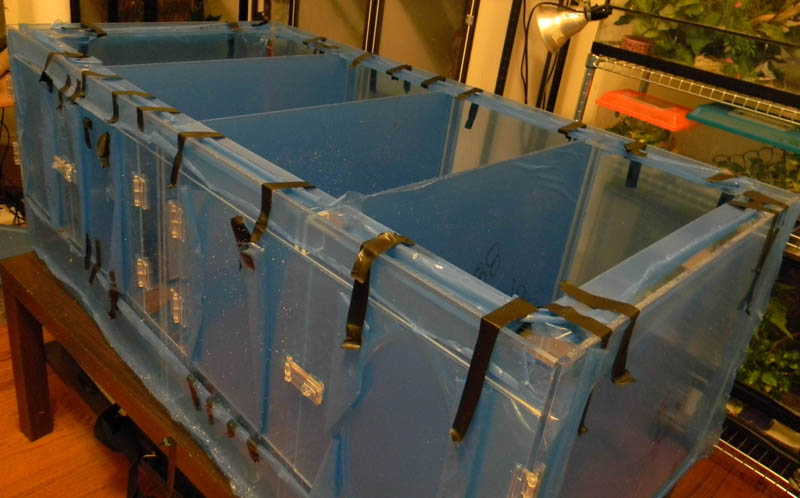
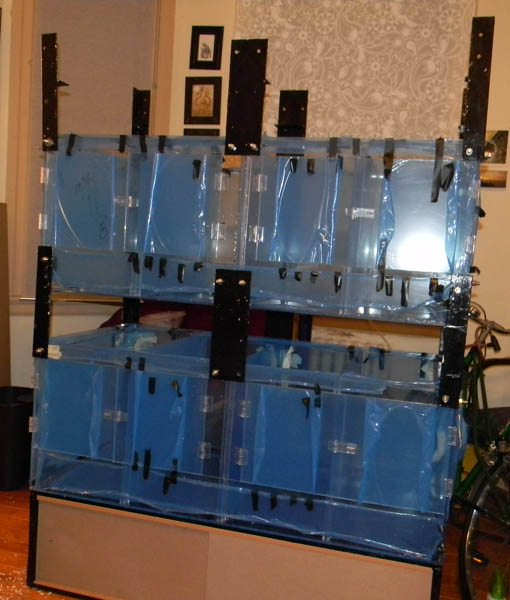
With all of the welding on the tanks done, it was time to move them over to the base and start drilling holes for the supports.
Typically you should drill the holes before you assemble the tank, but since I had to drill all of the holes in the supports by hand and I had to assemble the tank by hand I wanted to make sure that everything lined up properly with an assembled product before putting holes in the acrylic that might not line up properly.
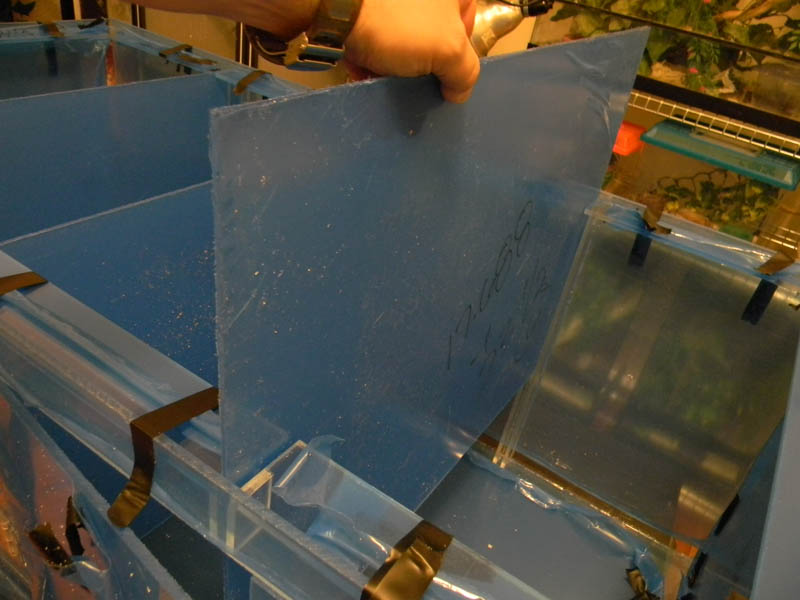
Since I had to peel back some of the protective plastic to do the welding, I replaced it with masking tape before drilling. This helps prevent the acrylic from scratches and cracking, and it also helps for removal of any melted plastic flash that comes with the drilling.
I highly recommend that if you work with acrylic and need to drill several holes of the same size that you get a bit for drilling in plastic. You can use a standard 60 degree bit, but using a sharper, lower angled bit you can save yourself a lot of headaches. Bits for drilling plastic don't pull the material towards them like regular bits do; something that can lead to cracking. They also cut through the plastic easier and don't melt as much of it while going through as a standard bit does.
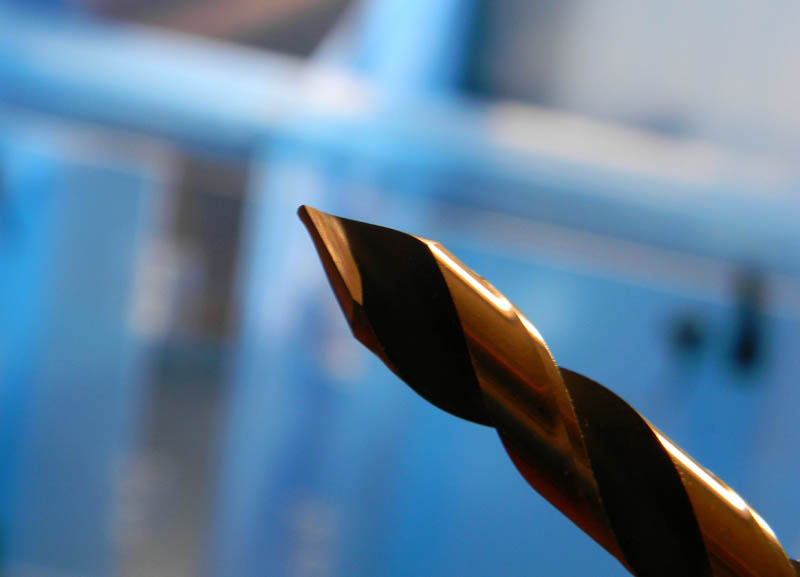
When drilling through acrylic you want to go at slow drill speeds and apply little pressure. This is especially important when you reach through to the other side of the material. Go against your instinct to push hard through the material to finish the hole. Very lightly push the drill into the plastic and let the bit cut its way through to finish. If you do this right you end up with great looking holes that need little or no finishing.
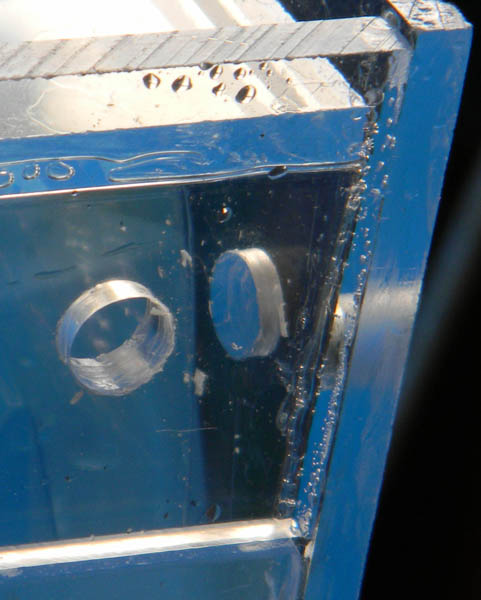
Two other tips for drilling acrylic. It can be handy to keep a water bottle near by to spray the plastic with periodically. This cools it down so it melts less. Also, once in a while the plastic will melt onto the tip of the drill bit making a cap. You might be drilling for a while and wondering why the bit isn't going in any deeper. Simply take the bit out of the in-process hole and peel off the hard cap that is preventing the cutting.
First level done!
Second level done!
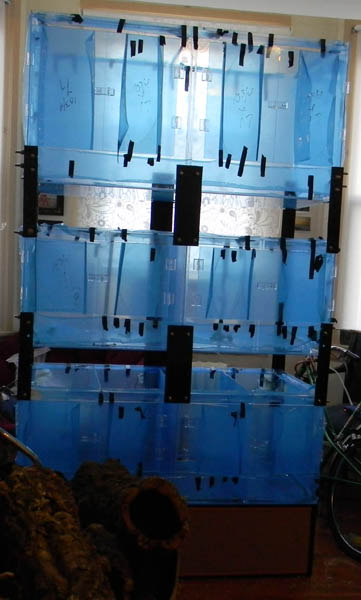
Third level done!
Next up is the lids and the skirts. I have one lid curing now:
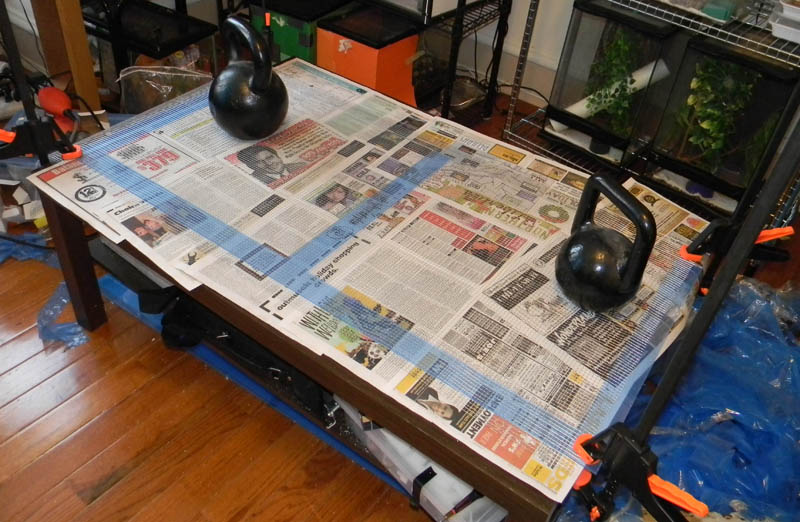
I have a feeling the lids are going to be a huge pain. I need to trim the wire down once the caulk is set and will probably have to sand one or two of the edges down to get them to fit into the tops ok. I am now wishing I had made them about 1/2" shorter on both sides. Oh well, that's part of doing these projects. Learning so you can improve the next one. I also realized a couple flaws in the overall design of Gecko Condo. The first is that it is a pain to take the levels apart, making the partition removal more bothersome. To try and counteract this I think I am going to cut the partitions into three sections each and hold them together in the tanks with clips so I can take them out while the levels are all fully assembled still. The other issue is that I don't think I will be able to get the lids out from in between the tank levels while the condo is fully assembled. This isn't a huge issue, but certainly could turn into a nuisance.
At this point, I think the biggest change I would make to a different version of Gecko Condo is to go with sliding doors instead of swinging. That way I could use solid supports on the front just like the back and drill fewer, possibly no, holes into the tanks themselves. The skirts could then provide horizontal support between the angle iron. It would be a trade off on aesthetics but a lot less work. I would not have had to drill any of the holes in the acrylic, and about half as many into the angle iron. I avoided sliding doors because they would have been a bit more work, made issues with the partitions, and it is a little harder to lock them (more from children than thieves).
For the tank tops I would have at least made them smaller and as two pieces instead of one. I think it might have been a good idea to go with aluminum for the edge pieces instead of acrylic. The one that I finished is really floppy right now and it is a bit unwieldy, though it should be fine once I get it onto a tank section and sand it down to the right size. Making the tops two pieces instead of one would likely make them a bit more stable. Right now I have a couple of concerns with the lids for when I have lights and a watering system on them, but we will just have to wait and see for when I actually have them in place.
The partitions should work out ok once I cut them into 3rds. I just wish I had thought of that before I ordered the plastic so the shop could have done the cutting instead of myself.
Not sure when the next project update post will be. I think I will only be able to do a lid a day between the trimming and the time needed for the caulk to set. The skirts may take a while as well. The work is straight forward, but there is a lot of drilling/cutting/painting to do. after that we get to the more fun part of building naturalistic backgrounds and an automatic misting system!